Step by step Installation Wizard for XTSyncServer |
  
|
Step by step Installation Wizard for XTSyncServer |
|
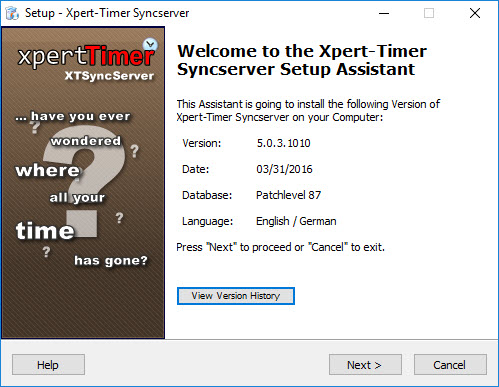
To install your Xpert-Timer SyncServer double click the XTInstSyncServer.exe. An installation wizard will guide you through the installation.
This dialog shows you, what version will be installed on your computer. If you want to have a quick look at the changes made, click on "View Version History".
Follow these steps:
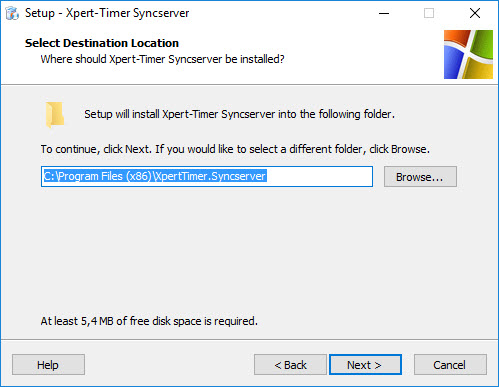
Choose the directory you want to save your Xpert-Timer in. The Weberser service must run on a server that's always online and running. Do not use a network drive for the insatllation.
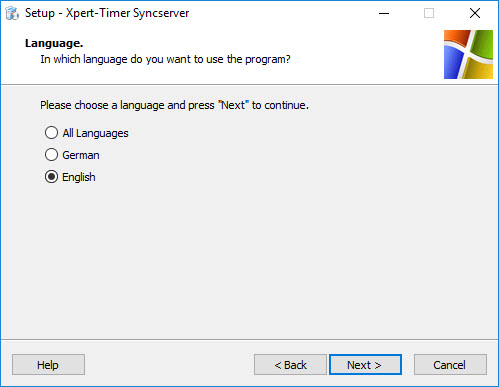
Choose between german or english for your Webserver interface.
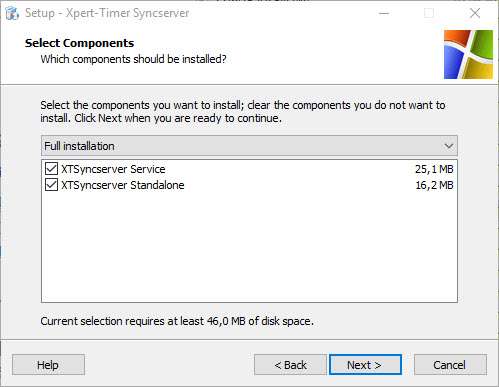
Decide here what components of the package you want to install. If you are planning on only running the webserver, if you want to synchronize and not use the service, choose the XTWebserver Desktop. If you want to install the XTSyncServer as a service choose accordingly.
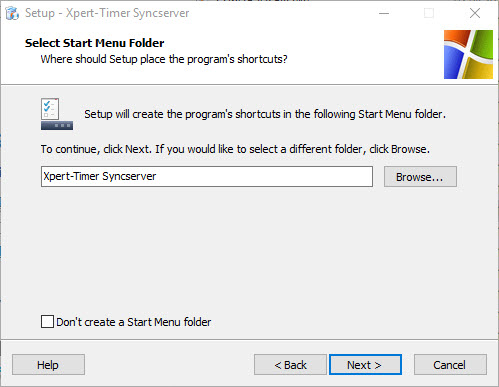
Name your shortcut for the Start menu here.This name will appear in your Windows Start Menu.
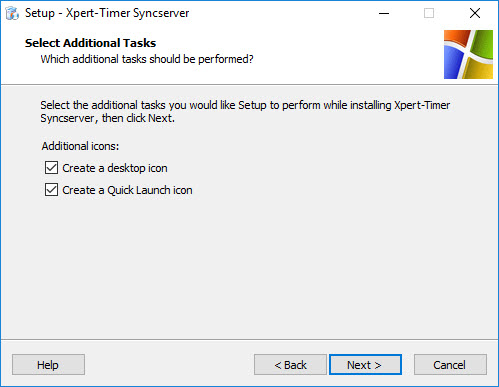
You can have Xpert-Timer create a desktop icon and a quick launch icon here, automatically. This allows you to have quick access to your XTSyncServer. The quick launch icon area is located on the right hand side of your Windows Start Button.
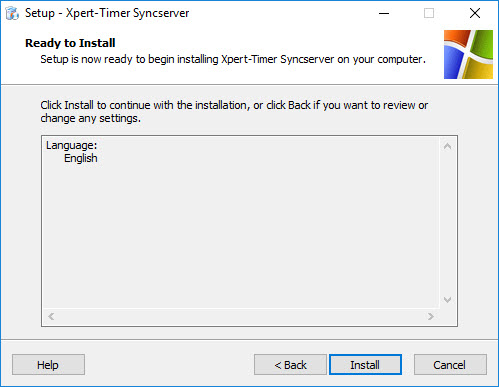
Click on "Install" in order to finish the setup, and then decide if you want to run the Desktop version (XTSyncserver) or the Windows Service Version of XTSyncServer (XTSyncserver Service Control).
